Working with bands
Every change JustAnother EQ makes to the sound starts with a band: one filter with a shape, a frequency and, depending on the shape, a gain, a Q and a slope. You place bands directly on the graph, where each one shows up as a node (dot) and a curve over the spectrum analyzer. The graph starts empty.
What a band can do
- Up to 24 bands, each of which you can bypass or remove on its own.
- 10 filter shapes: Bell, Low Shelf, High Shelf, Low Cut, High Cut, Notch, Band Pass, Tilt Shelf, Flat Tilt and All Pass.
- Frequency from 10 Hz to 30 kHz, gain from -24 to +24 dB and Q from 0.025 to 40, where the shape uses them.
- Slopes from 6 to 96 dB/oct depending on the shape, including in-between values such as 30 dB/oct, plus Brickwall on Low Cut and High Cut.
- Stereo placement: each band works on Stereo, Left, Right, Mid or Side.
Depending on its shape, a band can also:
- become dynamic, cutting or boosting only when the level rises (Dynamic EQ);
- work on only the attack or only the sustain of a sound (Transient / Body split);
- add its own saturation (Per-band saturation);
- follow the pitch of a melody (Pitch Tracking).
Creating and selecting bands
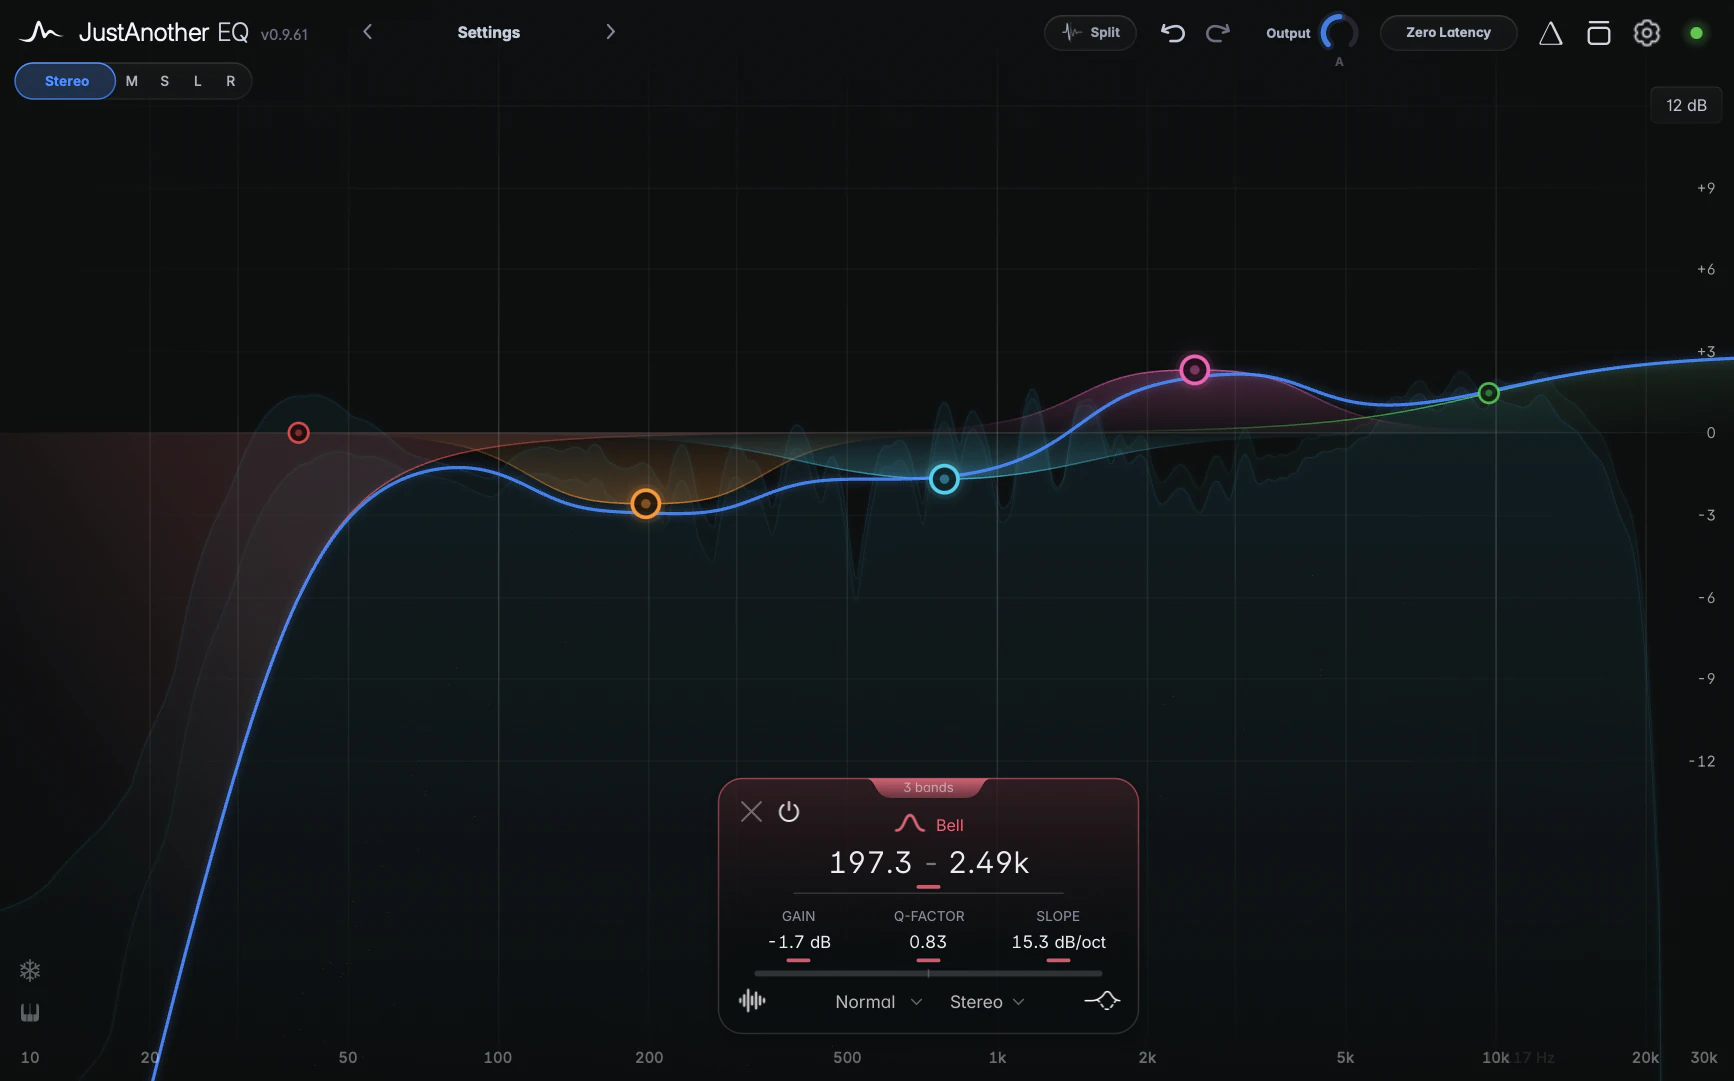
Creating a band
Double-click empty graph space to create a band at the pointer: the horizontal position sets the frequency and the height sets the gain. The new band is selected and its band card opens. Its shape depends on where you click:
| Where you double-click | Shape |
|---|---|
| Between 40 Hz and 10 kHz | Bell |
| 20-40 Hz, or above the 0 dB line below 20 Hz | Low Shelf |
| 10-20 kHz, or above the 0 dB line from 20 kHz up | High Shelf |
| At or below the 0 dB line below 20 Hz | Low Cut |
| At or below the 0 dB line from 20 kHz up | High Cut |
| Near the bottom edge of the graph (wins over the rows above) | Low Cut below 200 Hz, Bell from 200 Hz to 2 kHz, High Cut from 2 kHz |
A new band starts at Q 1.0 and 12 dB/oct, on the channel shown in the header’s Channel Focus bar, with the next colour from an 8-colour palette. When all 24 bands are in use, “Maximum of 24 bands reached” appears and nothing is added.
Two options in Settings change band creation: Single-Click Add creates a band with a single click, and Insert Preview shows the band a click would create. With the Piano Roll showing, you can also double-click a key to create a band on that note.
Selecting bands
- Click a node (or a band’s curve or filled area) to select the band and open its band card.
- Click empty graph space to deselect everything.
- Lasso: press on empty space and drag a rectangle around the nodes you want.
- Ctrl+click a node (Cmd+click on macOS) to add it to the selection or take it out.
- Right-click empty space for Select All or Select Disabled (every bypassed band).
To step through bands in order, hover the band card and click the small arrows either side of the band number.
Shaping bands on the graph
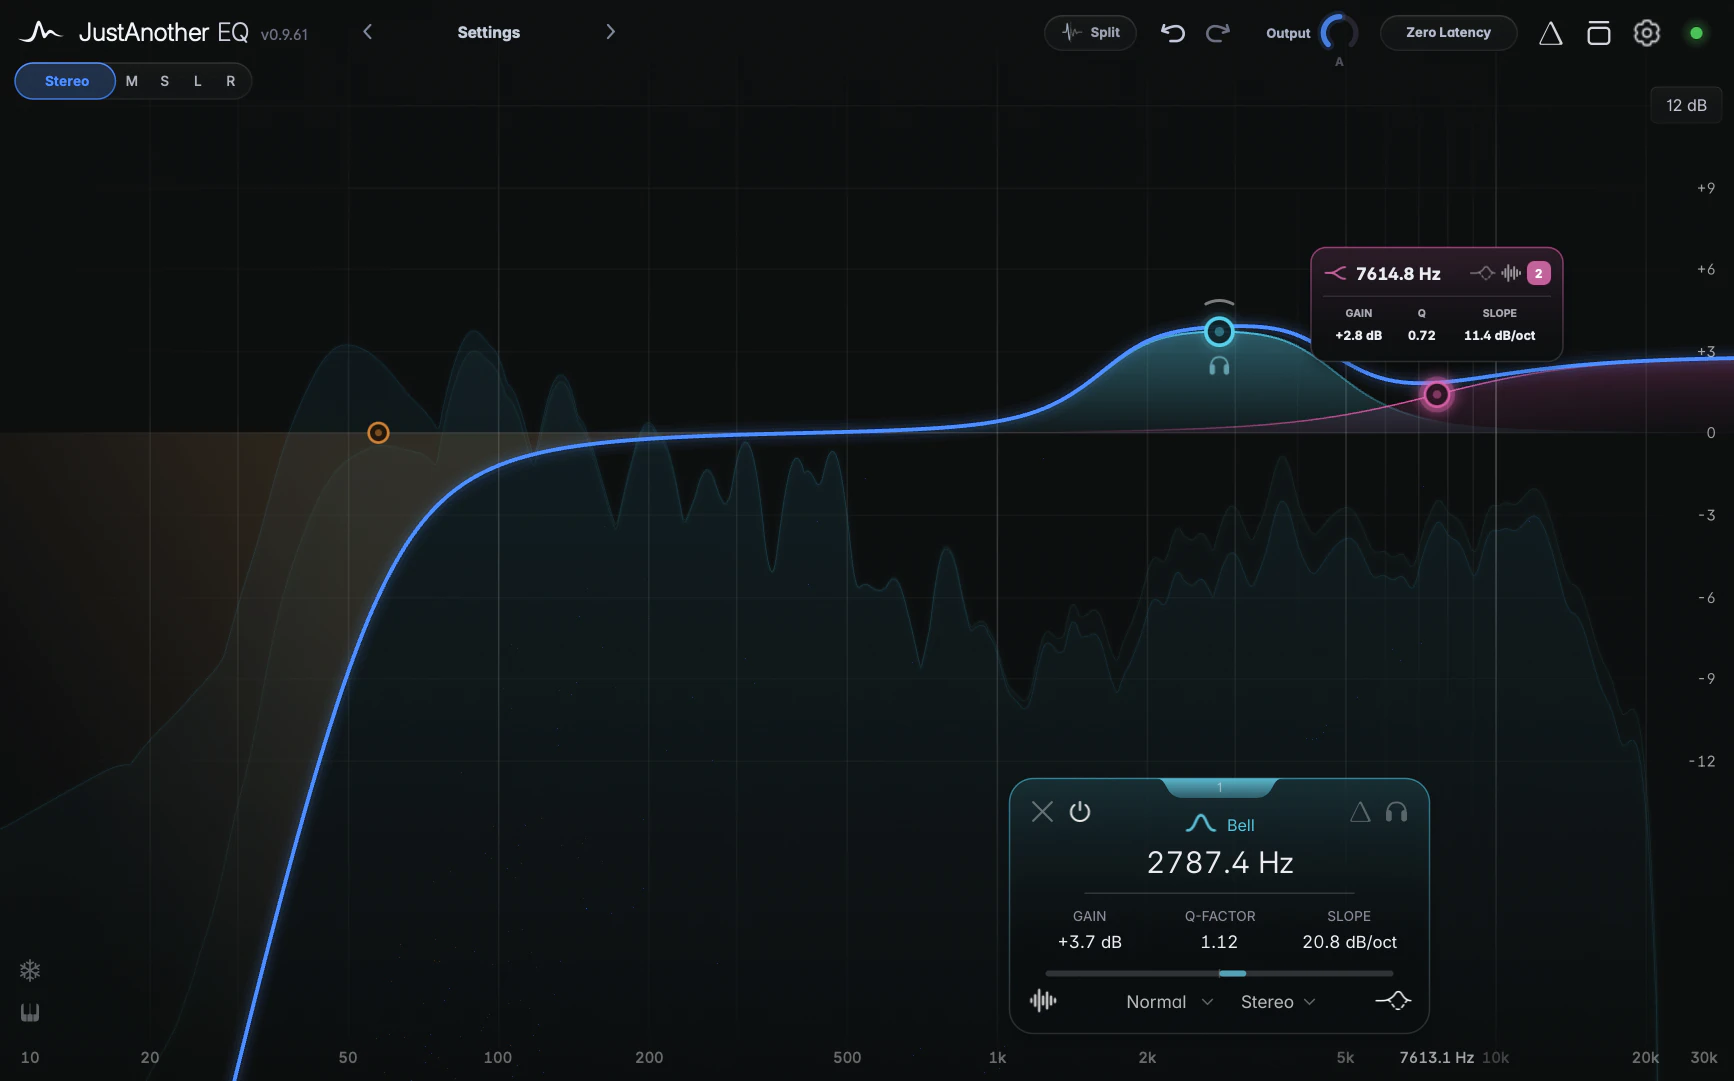
Moving a band
- Drag a node to move the band: left and right change the frequency, up and down change the gain.
- Hold Shift to lock to one axis, frequency only or gain only, whichever way you move first. (On a node, Shift isn’t fine adjustment; for that, use the values on the band card.)
- Low Cut, High Cut, Notch, Band Pass and All Pass have no gain, so dragging them up and down changes Q instead.
- Hover a node you haven’t selected to see a tip with its settings.
On Tilt Shelf and Flat Tilt the node sits at the Gain value: the curve crosses 0 dB at the band’s frequency, and the node shows how far the tilt goes.
Q and slope
| Gesture | What it does |
|---|---|
| Ctrl+drag (Cmd+drag on macOS) | Up and down change Q; left and right still move the frequency |
| Ctrl+Shift+drag (Cmd+Shift+drag on macOS) | Q only, frequency locked |
| Alt+drag (Option+drag on macOS) | Up and down change the slope; left and right still move the frequency |
| Mouse wheel over a node or curve | Q. On Low Cut and High Cut it steps the slope instead |
| Alt+wheel (Option+wheel on macOS) | Continuous slope, including in-between values |
| Shift with the wheel | Finer steps |
Slope changes never touch Q: your Q setting is kept, even while a slope that doesn’t use it shows Q as “–”. See Slopes.
Editing several bands at once
Select a group and drag any of its nodes:
- Frequency: every band moves by the same ratio, so the musical intervals between them stay intact.
- Gain: every band moves by the same amount in its own direction. Pull a boost up and the cuts in the group get deeper; pull it down and everything relaxes toward 0 dB.
- Ctrl+drag (Cmd+drag on macOS) scales every Q by the same factor, and the wheel changes Q on every band in the group except cuts. Alt+drag (Option+drag on macOS) changes every slope by the same number of dB/oct, each within its own range.
Lasso the three cuts you made on a boxy acoustic guitar, slide them up a little, and they keep their spacing and their relative depth.
The band card’s Gain Offset works differently: it adds the same number of dB to every selected band.
Graph notes
- When you drag a band to the top or bottom of the graph, the gain display range grows so the band stays in view. See Graph display and zoom.
- Bands dimmed by the Channel Focus can’t be grabbed. Switch the focus to their channel, or back to Stereo.
- Next to the selected node you may see a slim arc, the dynamics Range handle (see Dynamic EQ), and a small headphones icon for Hold to Listen (see Solo, Hold to Listen and Delta).
Bypassing a band
Double-click a node (or its curve) to bypass the band, and again to switch it back on. Its settings are kept, and the node dims. You can also click the Band Bypass icon (the power symbol) at the top left of the band card. To bypass or re-enable every band at once, right-click empty space and choose Disable All or Enable All.
Removing bands
- Right double-click a band (two quick right-clicks). If it’s part of a selection, the whole selection goes.
- Press Delete or Backspace to remove the selected bands.
- Click the Remove Band icon (the X) at the top left of the band card.
- Right-click empty space for Remove Disabled or Clear Graph.
There’s no confirmation, but Undo brings a band back with all its settings.
Band colours
Click the band number on the top edge of the band card to open the colour picker. Choose one of the 8 swatches, or click or drag along the hue strip for a custom colour. The colour goes to every selected band.
Related controls
- The band card: every control on the card.
- Filter shapes & slopes: the ten shapes, slope ranges and steps, continuous slopes and Brickwall.
- Stereo placement: putting bands on Left, Right, Mid or Side.